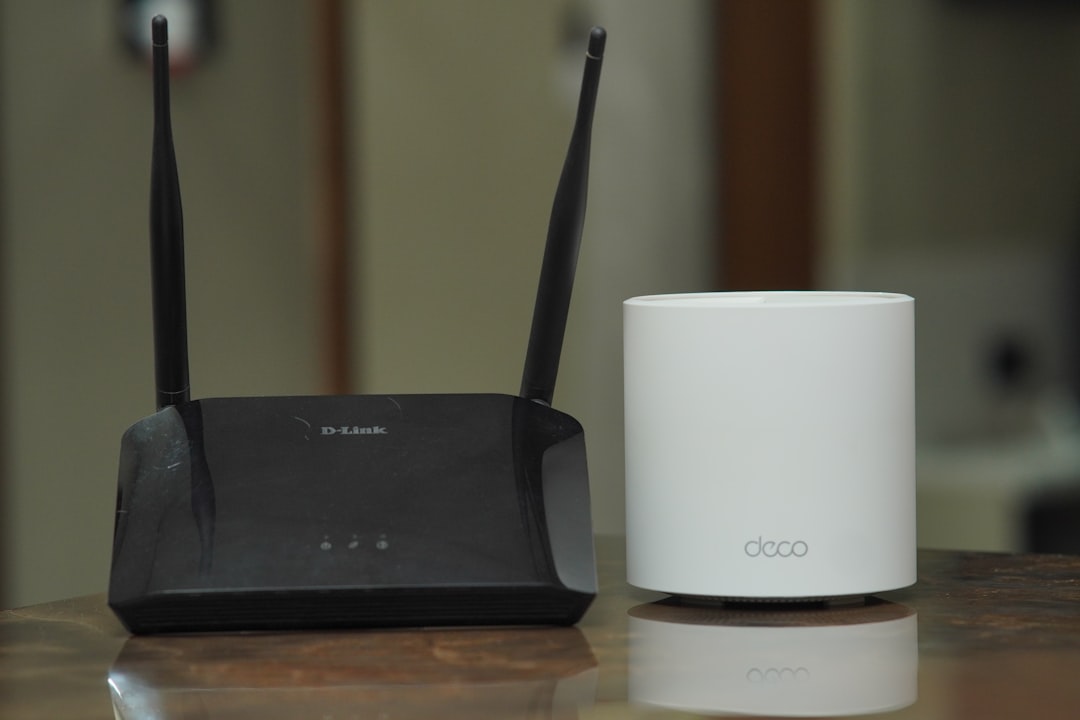
Hardwiring your home internet means running Ethernet cable from your router to your devices instead of connecting them over WiFi. The recipe: plug stationary devices into your router’s LAN ports, add an inexpensive network switch where one cable needs to feed several devices, use a USB adapter for anything without an Ethernet port, and use flat cable or MoCA (Ethernet over your existing coax) for the runs you can’t fish through walls.
You’ll get a faster, more stable connection — and every device you hardwire stops transmitting radiofrequency (RF) signals inches from your body. This is the rare EMF-reduction project where the “normal” reasons to do it (speed, latency, reliability) are just as strong as the exposure reasons. Here’s the full walkthrough.
Why Hardwire at All?
Two independent cases, and both hold up:
The performance case. A cable doesn’t compete with your neighbor’s network, doesn’t drop when the microwave runs, and doesn’t degrade through walls. Wired connections deliver lower latency and more consistent throughput than WiFi in nearly every real-world home.
The exposure case. Every WiFi device is a two-way radio. Your router transmits constantly, and your laptop answers back from your desk or your lap — which is why device-side exposure often matters more than the router across the room. Hardwire a device and turn its radios off, and its RF transmission drops to zero. Not reduced. Zero.
To be clear about the science: research on WiFi at typical home exposure levels has not shown consistent health effects. But “the evidence of harm is weak” and “the exposure is unnecessary” can both be true.
The Shopping List
Everything here is commodity hardware — no exotic gear, no proprietary anything.
| Item | What to look for | Typical cost |
|---|---|---|
| Ethernet cable (Cat6) | Round cable in pre-made lengths; buy longer than you measured | A few dollars to ~$20 per cable |
| Flat Cat6 cable | For baseboard and under-door runs only; keep runs short | $10–$25 |
| Unmanaged gigabit switch | 5-port or 8-port, “unmanaged” = plug and play | $15–$40 |
| USB Ethernet adapter | USB-C (or USB-A) to Gigabit Ethernet, one per portless device | $15–$30 |
| Cable clips or raceway | Adhesive channel that hides cable along trim | $10–$20 |
| MoCA 2.5 adapter pair (optional) | Only if you’ll use existing coax instead of new cable | The priciest item on this list — typically $100–160 for a pair |
A single-room setup — one switch, two cables, one adapter — usually lands under $75, less than many “EMF harmonizer” gadgets that do nothing measurable.
Check your EMF exposure
See cell towers, power lines, and substations near any US address.
Search Your AddressStep 1: Map Your Runs
Walk the house and list every device that never moves: desktop, TV, streaming box, game console, printer, desk laptop. These are your hardwire candidates. Phones and tablets stay mobile — we’ll handle them later.
Then figure out the path from the router to each cluster of devices:
- Same room as the router: trivial. Cable along the baseboard.
- Adjacent room: flat cable under the door or through a closet, or a longer round cable around the hallway trim.
- Different floor or far end of the house: this is where MoCA over your existing coax jacks earns its keep (Step 5).
Measure each run along the actual path — not as the crow flies — and add 15–20% slack. Cable that’s too long coils neatly behind furniture. Cable that’s too short goes in a drawer forever.
Step 2: Choose the Right Cable
Cable categories are about speed and distance, and for home use the answer is simpler than the spec sheets suggest:
| Category | Max speed | Notes |
|---|---|---|
| Cat5e | 1 Gbps up to 100 m | Fine, and what’s already in many walls |
| Cat6 | 1 Gbps up to 100 m; 10 Gbps up to ~55 m | The sweet spot — buy this |
| Cat6a | 10 Gbps up to 100 m | Overkill unless you have multi-gig internet |
Cat6 is the right default. It costs barely more than Cat5e and covers any home run at gigabit speeds with headroom to spare.
Flat cable: useful, with caveats
Flat Ethernet cable is the renter’s best friend — it slips under doors, along baseboards, and under rug edges without a visible bulge. Two honest caveats:
- Keep flat runs short. The conductors sit side by side instead of in a round twisted bundle, which weakens noise rejection over distance. Under roughly 50 feet, you won’t notice. Don’t do a 100-foot flat run.
- Don’t put it where it gets crushed. Footsteps and furniture legs grinding a cable into the floor through a rug will eventually damage the conductors. Route along the baseboard where you can, and use a cord protector across walkways.
Shielded (STP) cable exists and some EMF-conscious buyers prefer it. It’s optional: its real job is keeping outside interference off the data lines, and Ethernet’s own emissions are negligible either way (more on that in the FAQ). Unshielded Cat6 is fine.
Step 3: Build the Backbone
Your router has a handful of LAN ports on the back — usually four. Those are your starting points.
When one room needs more connections than one cable can serve, add an unmanaged switch: a small box that turns one Ethernet line into five or eight. No configuration, no software, no account. Plug the incoming cable into any port, plug your devices into the rest, done.
The classic placement is the TV stand: one cable from the router feeds a switch, and the switch feeds the TV, streaming box, console, and soundbar. For a typical home, one or two switches is the whole “network architecture.”
Step 4: Hardwire Each Device
- Desktops, TVs, consoles, streaming boxes, printers: most have built-in Ethernet ports. Plug in, and the device will prefer the wired connection.
- Laptops: almost none have Ethernet ports anymore. A USB-C to Gigabit Ethernet adapter (or a dock with one built in) solves it — plug and play on macOS and Windows.
- iPhones and iPads: yes, really. Plug a USB-C Ethernet adapter into a modern iPhone or iPad and iOS recognizes it with no extra software — an Ethernet entry appears right in the Settings app. Older Lightning iPhones need a Lightning-to-Ethernet adapter instead. It’s a fantastic option for a bedside phone that streams audio all night.
- Android phones and tablets: the same USB-C adapters generally work plug-and-play.
The step people skip: after each device is wired, turn off its WiFi and Bluetooth. A hardwired laptop with WiFi still enabled keeps chattering with the router anyway. The cable gets you the performance; the radio toggle gets you the exposure reduction.
Some devices can’t be hardwired at all — most smart speakers, video doorbells, and hubs are wireless-only, which is one reason they rank where they do in our smart home device rankings.
Step 5: No Cable Path? Use MoCA Over Coax
If a room is unreachable by Ethernet but has a cable-TV jack, MoCA adapters (Multimedia over Coax Alliance) turn the coax already in your walls into a wired network link. One adapter connects to your router and a nearby coax jack; a second adapter in the far room converts back to Ethernet. Current MoCA 2.5 gear supports up to 2.5 Gbps — faster than most home internet plans — with wired-grade stability.
Two notes:
- Add a “PoE” filter. A point-of-entry filter is an inexpensive part that screws onto the coax line where it enters your house. It keeps your MoCA signal from leaking out to the neighborhood (a security fix) and reflects it back inside (a performance boost).
- The EMF picture is good. MoCA’s signals (which run up to 1,675 MHz) travel inside the coax, and coax is shielded by construction — a grounded outer conductor wrapped around the signal line. It’s a contained, wired transmission, not a broadcast.
What about powerline adapters, which send data over your electrical wiring? They work. But performance varies wildly with your wiring, and many EMF-conscious readers skip them on principle: they superimpose a high-frequency data signal onto ordinary unshielded house wiring that runs through every wall. If the goal is a cleaner electrical environment, MoCA or real Ethernet is the better instrument.
Step 6: Deal With the Router Itself
Hardwiring your devices silences their radios. The router keeps broadcasting until you tell it otherwise. Your options, in ascending order of commitment:
- Distance and placement. Get it out of the bedroom and away from seating — router placement and distance does most of the work here.
- Schedule the radio. Most routers can disable WiFi on a timer, or a smart plug can kill the whole unit overnight. Turning WiFi off at night eliminates a third of your daily exposure window in one move.
- Disable WiFi entirely. In the router’s admin settings, turn the radios off and run a fully wired home. Most households land on a hybrid instead.
What Your Meter Shows Before and After
This is the satisfying part, and you don’t have to take anyone’s word for it.
Before: hold an RF meter near your laptop during a video call or a big upload and you’ll see what wireless traffic actually looks like — sharp bursts every time the device transmits, spiking far above the room’s baseline. Near the router, readings are elevated even when nothing is “using” the internet, because routers beacon continuously, many times per second, whether or not any device is listening. In our router distance testing, exposure fell off steeply — readings at 10 feet were 90–99% lower than at 1 foot.
 The before/after measurement is the payoff: device-side RF at your desk drops to background once radios are off.
After: hardwire the device, toggle its WiFi and Bluetooth off, and the bursts at your desk simply stop. What remains is your home’s ambient background — neighboring networks, cell signal, whatever wireless gear is still running. Your own workstation stops contributing. If you’ve also scheduled the router’s radio off at night, a bedside meter reading at 2 AM should be indistinguishable from the background with the router unplugged.
The Ethernet cable itself won’t register: it carries low-voltage data signals, not radio broadcasts.
If you don’t own a meter yet, this project is the single best reason to get one — a before/after measurement turns “I think this helped” into a number. Our EMF meter guide covers which models are worth buying and which are junk.
The Realistic Endgame
Almost nobody runs a 100% wired home, and you don’t need to. The high-value version looks like this: desk and TV stand hardwired with radios off, bedside devices wired or in airplane mode, router on a night schedule, and WiFi alive during the day for phones and guests. That configuration removes the strongest near-body sources for the hours you’re stationary — which is most of them. For deciding what to tackle after the network, our whole-home EMF-proofing guide picks up where this leaves off.
Frequently Asked Questions
Is wired internet faster than WiFi?
For consistency, yes — Ethernet delivers its rated speed with lower latency and no interference from walls, neighbors, or other devices. A gigabit cable connection will saturate most home internet plans, and it won’t stutter during video calls the way congested WiFi does. Peak WiFi speeds can look similar on paper; the difference shows up in stability.
Can I hardwire an iPhone or iPad?
Yes. A USB-C to Ethernet adapter is plug-and-play on modern iPhones and iPads, and Lightning-to-Ethernet adapters cover older models. Turn off WiFi and Bluetooth in Settings afterward, or the phone keeps transmitting anyway.
Do Ethernet cables emit radiation?
Nothing meaningful. Ethernet uses low-voltage signaling confined to the cable — it’s not a radio transmitter, and it registers as essentially nothing on an RF meter. Shielded (STP) cable exists mainly to keep outside interference off the line, not to contain dangerous emissions. The exposure win comes from turning off the WiFi and Bluetooth radios the cable replaces.
What is a MoCA adapter and do I need one?
A MoCA adapter sends your network over the coax TV wiring already in your walls, so you get a wired-quality connection in rooms you can’t reach with Ethernet cable. You need one adapter at the router, one in the far room, and ideally a point-of-entry filter where the coax enters your home. Current MoCA 2.5 hardware supports up to 2.5 Gbps. Skip it if you can run a cable — Ethernet is cheaper and simpler.
Do I still need to turn off WiFi after hardwiring?
Yes, on both ends, if exposure reduction is the goal. Hardwired devices keep their radios on unless you disable them, and the router keeps broadcasting whether or not anything is using WiFi. Toggle WiFi and Bluetooth off on each wired device, and put the router’s radio on a schedule — or turn it off entirely if everything in the house is wired.